Engineering
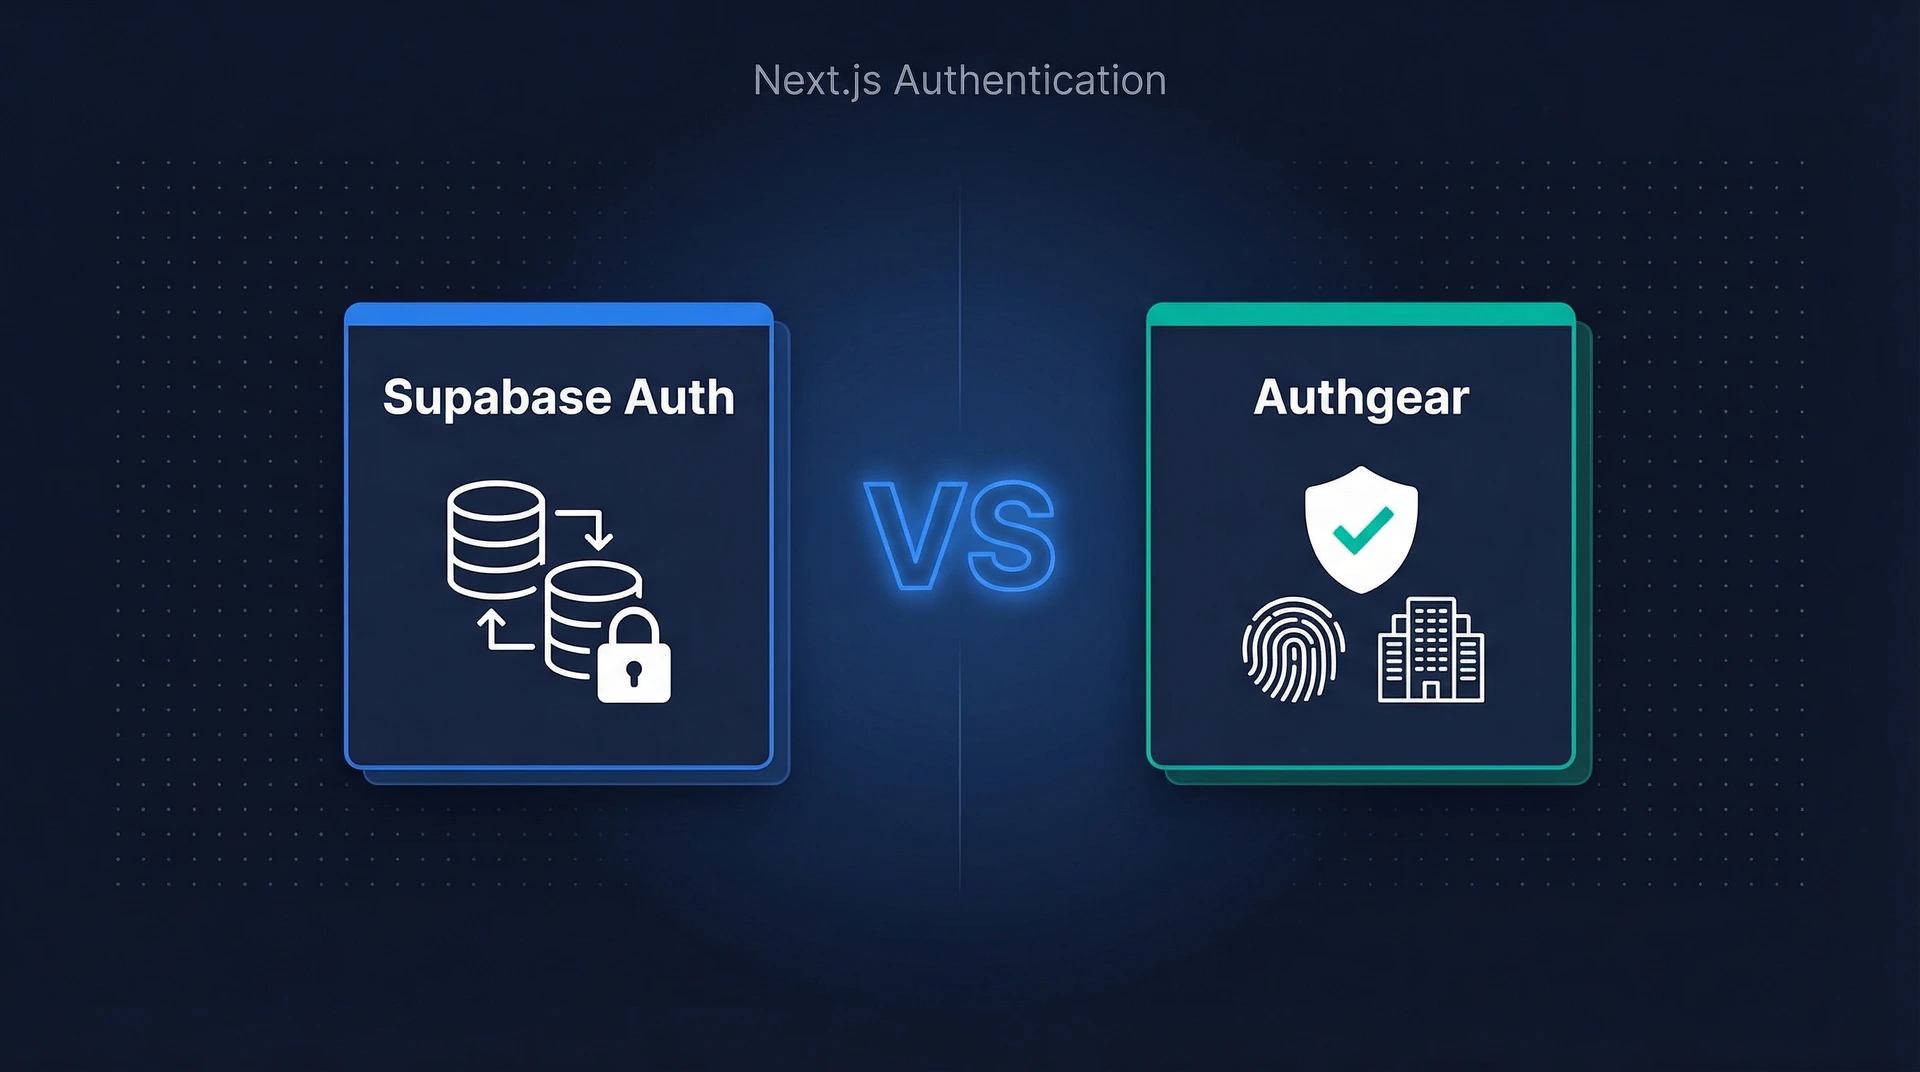
Supabase Auth vs Authgear for Next.js: Which Should You Choose?
March 27, 2026
In this we teach how add a full user authentication feature to any React Native application under 10 minutes.


A simple definition of user authentication in a React Native application is a feature that allows users of the application to register with a username and password and subsequently log in with the same details to access additional features. User Authentication is an important part of any modern application that offers personalized or custom experience to each user. For example, if you’re building an e-commerce application, adding authentication makes it easier to save a user's shopping cart and purchase history.
In this post, you’ll learn how to add authentication to a React Native application in under 10 minutes.
For this post, we’ll use an Authentication-as-a-Service solution Authgear, to save you stress, time, and cost associated with building your backend service for saving users’ login details and handling authentication logic. Authgear makes adding user authentication to React Native applications fast and secure.
To follow this guide seamlessly, you should have the following:
In the following section, we’ll provide a step-by-step guide for building a simple React Native application that has a login button that users can click to start authentication. Once the user logs in successfully, they are redirected back to the application with a custom welcome message.
The following screenshot shows the welcome screen with the login button mentioned above:

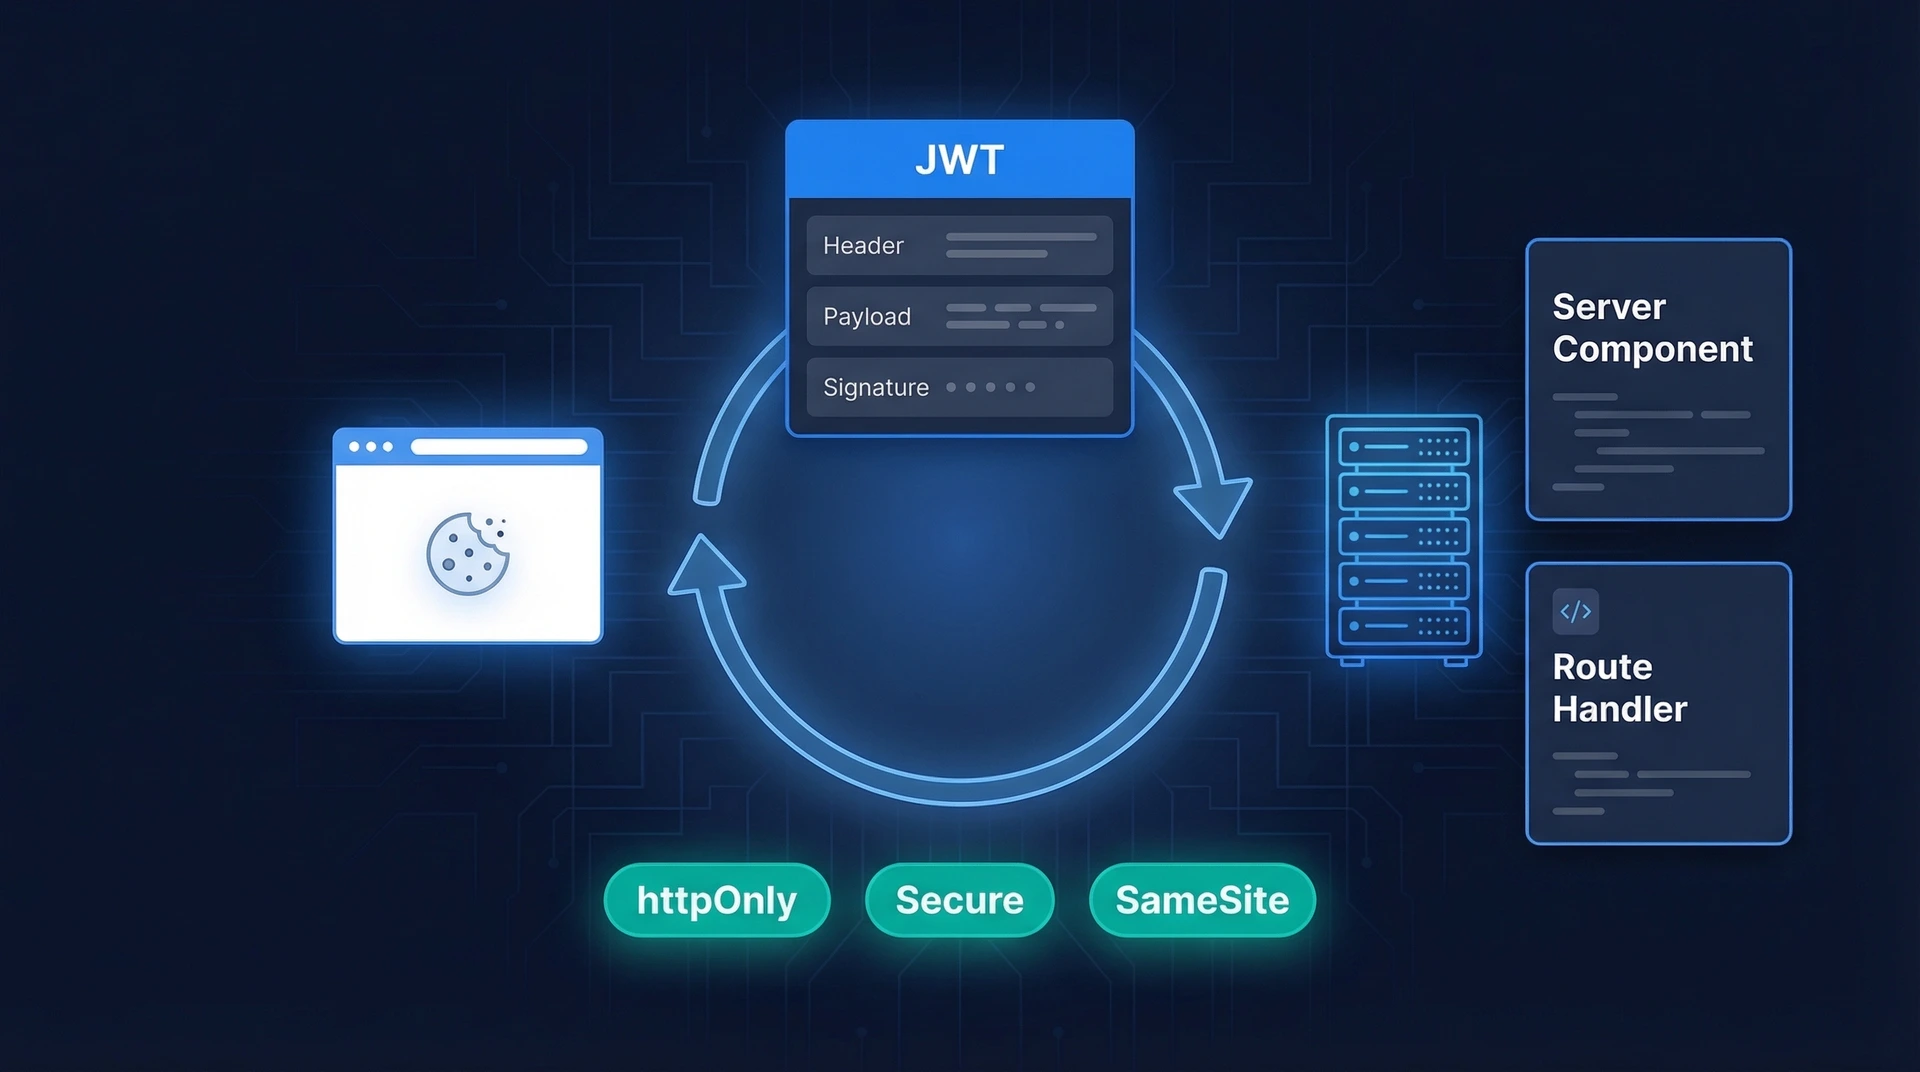
Under the hood, Authgear uses OpenID Connect (OIDC) authentication protocol. As a result, during authentication, a user is redirected to an authorization page and then redirected back to the client application (your React Native application) once authorization is complete.
Below is a flowchart that explains how OIDC works.

First, you need to create the React Native project to which you will be adding user authentication. If you already have an existing React Native project, you can skip this step.
To create a new React Native project, run the following command from the directory where you want to store your project:
If prompted to install react-native, type “y” and hit Enter to continue.
Wait for the project creation process to finish.
Now that you have a React Native Project, you’re ready to add the Authgear SDK to it. We mentioned earlier that Authgear is an Authentication-as-a-Service solution that makes it easy and fast to add secure authentication to React Native applications.
Before you continue, if you created a new project in the previous step, update the content of the App.tsx to the following remove the default React Native starter app screen:
Install the Authgear SDK by running the following command from the root directory of your React Native project:
Next, configure the Authgear SDK with the credentials from your Authgear application. To get the credentials, you’ll need to sign up for an Authgear account and create an application.
You can create an application on the Authgear Portal by navigating to Application > Add Application. Then select Native App and click Save.

Once you’re done creating your Authgear application, you’ll be redirected to the application’s configuration page where you can find your credentials and set an Authorized Redirect URI. The Authorized Redirect URI is a valid page on your application that Authgear can redirect the user to after authorization. The Authgear SDK will create this page in your React Native project.
For this example, add com.reactnativeauth://host/path as an Authorized Redirect URI. In your own personal or work project, this value may be the {namespace}://host/path for your application (you can find namespace in android/app/build.gradle).
Now, update App.tsx to include your Authgear application’s Client ID, and endpoint.
First, find the following line in App.tsx:
Replace the above line with the following code:
Replace YOUR_CLIENT_ID and YOUR_AUTHGEAR_ENDPOINT with the correct values for your Authgear application.
To enable your application to handle the redirect back when the user finishes authentication, you need to make changes to your project’s platform-specific (iOS and Android) configurations.
Android
For Android, open the android/app/src/main/AndroidManifest.xml file and add the following code inside the <application> tag like this:
Also, include the following queries section in your AndroidManifest.xml (required for Android API Level 30 or higher that is, Android 11 or above):
iOS
For iOS, add the matching redirect URI in ios/reactnativeauth/Info.plist like this:
Next, insert the SDK integration code by adding the following code to ios/reactnativeauth/AppDelegate.mm:
If you followed the above steps correctly, you should be able to test user authentication on your app now.
To test your application, run the npm start command then press the “a” key for Android or the “i” key for iOS on your keyboard.
You should be greeted with the welcome screen and a Login button.
Click on the login button to start an authentication session. You’ll be redirected to Authgear’s secure authentication user interface (AuthUI) where your users can either register a new account or log in to an account they’ve created.

On successful login, users will be redirected back to your application with the welcome message we added to the sample code in this tutorial. If you study the code, you’ll also notice a userInfo object that’s returned by the Authgear SDK, you can use this object to get details about the current user. In our example, we used userInfo.email to display the current user’s email address.

With the above steps, we’ve been able to add authentication to a React Native application quickly without building our own backend.
Authgear offers pre-built login and registration screens called AuthUI. Also, you can customize the AuthUI in the Authgear Portal to match the rest of your application’s branding.
There’s so much more you can do with Authgear Portal to customize your application and manage your users.
Finally, Authgear has APIs, and login methods (such as biometric, OTP, TOTP, and more) that allow developers to build more custom experiences. To learn more about Authgear, check out our official documentation or join our discord server to ask questions and get answers from our community of developers passionate about authentication.
Privacy is important to us, so you have the option of disabling certain types of storage that may not be necessary for the basic functioning of the website. Blocking categories may impact your experience on the website.